Overview
Using Role Based Access Controls (RBAC) to manage permissions can greatly reduce the time, effort and complexity required to:
- Adapt to staffing and role changes, including seasonal increases
- Increased data security & consistency
- Simplify reporting, auditing, and compliance. (Who has access to what)
RBAC uses a two tier approach of managing Role and Access Group membership. Resource owners can now easily manage the membership of these group(s) instead of assigning complicated and time consuming access list permissions. At a glance, resource owners can see who has permission to their Shared Resources and Modify the membership accordingly without ITS intervention.
The basic principles of RBAC are to:
- Create a Shared Resource
- Create an Access Group
- Create a Role Group
- Assign the Access Group permission against the Shared Resource
- Assign the Role Group as a member of the Access Group
- Assign members to the Role Group
A shared resource is a resource that needs access by one or many users. Examples of shared resources are: Shared Folder(s), Exchange Shared Mailboxes, Printer(s).
ITS will create the shared Resource(s).
Benefits
The core benefit from an end user perspective is self management regarding access to a department’s shared resources. So, if an employee starts a new job or leaves a job it is the role of the Manager / Leader / Designate to remove or allow access to the shared resources. With RBAC this access is granted or removed by simply adding or removing them as a member of the group.
Example: Onboarding
- Sally A comes to work for the information Technology Department. Sally’s Manager is Bob B.
- Sally A has the role of Network Analyst. Sally will need access to the IT department’s Shared Folder ITS2
- The Access Groups and Role Groups are already defined (see picture below).
- All Sally’s Manager Bob has to do is add Sally as a member to the ROLE_ITS_NSA role group.
- Sally now has all the permissions needed – the same as other members of the Role Group ROLE_ITS_NSA
Example: Job Change
- Sally A who was working in ITS now has a job in Human Resources. Sally should no longer have access to the shared Resource ITS2. She should only have access to the shared Resource HR.
- Sally A’s old manager was Bob B.
- Sally A’s new manager is Karen C.
- Sally’s old manager will remove her as a member of ROLE_ITS_NSA. Effectively removing her access to the shared Resource ITS2.
- Sally’s new manager will add her as a member to ROLE_HR_ADMIN. Effectively giving her access to the shared Resource HR.
Group membership
Group membership can be managed by the OPI / Leaders / Designate / Owner of the Shared Resource by using the following:
Start – Computer – Network – Search Active Directory
From here you can type in ROLE_ to find all the different Role Groups in the college that can be reused or the one(s) created for your department.
From here you can also type in AG_ to find the different Access Groups in the college that can be reused or the one(s) created for your department.
If you have permission to modify the membership of the group – you can double click on the group and you will have an option to add or delete users / groups from the membership. If you do not have permission these options will be greyed out. However, you can still view the members of the group.
Managing File Permissions
The help contents provided by Microsoft can help explain what each permission does and where to apply it.
To access the help, feature of Managing File permissions – Right Click on any of the folders you own and select properties. Select the security Tab. Click on the Learn about access control and permissions.
Once there you can see a list of valuable content that explains what the the permissions mean.
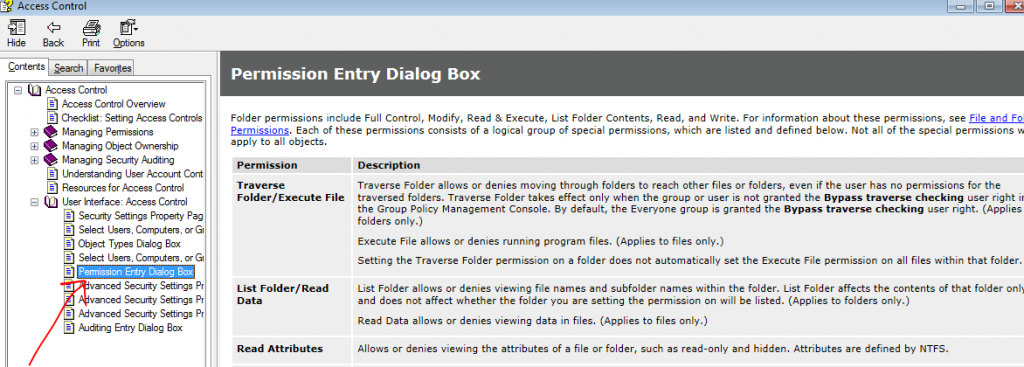
You can also click on the “Managing Permissions” for a description of what they are and how and where to apply them.
I would suggest reading each in turn. Making some notes if you have any questions about each and discussing them with IT if you have any concerns.